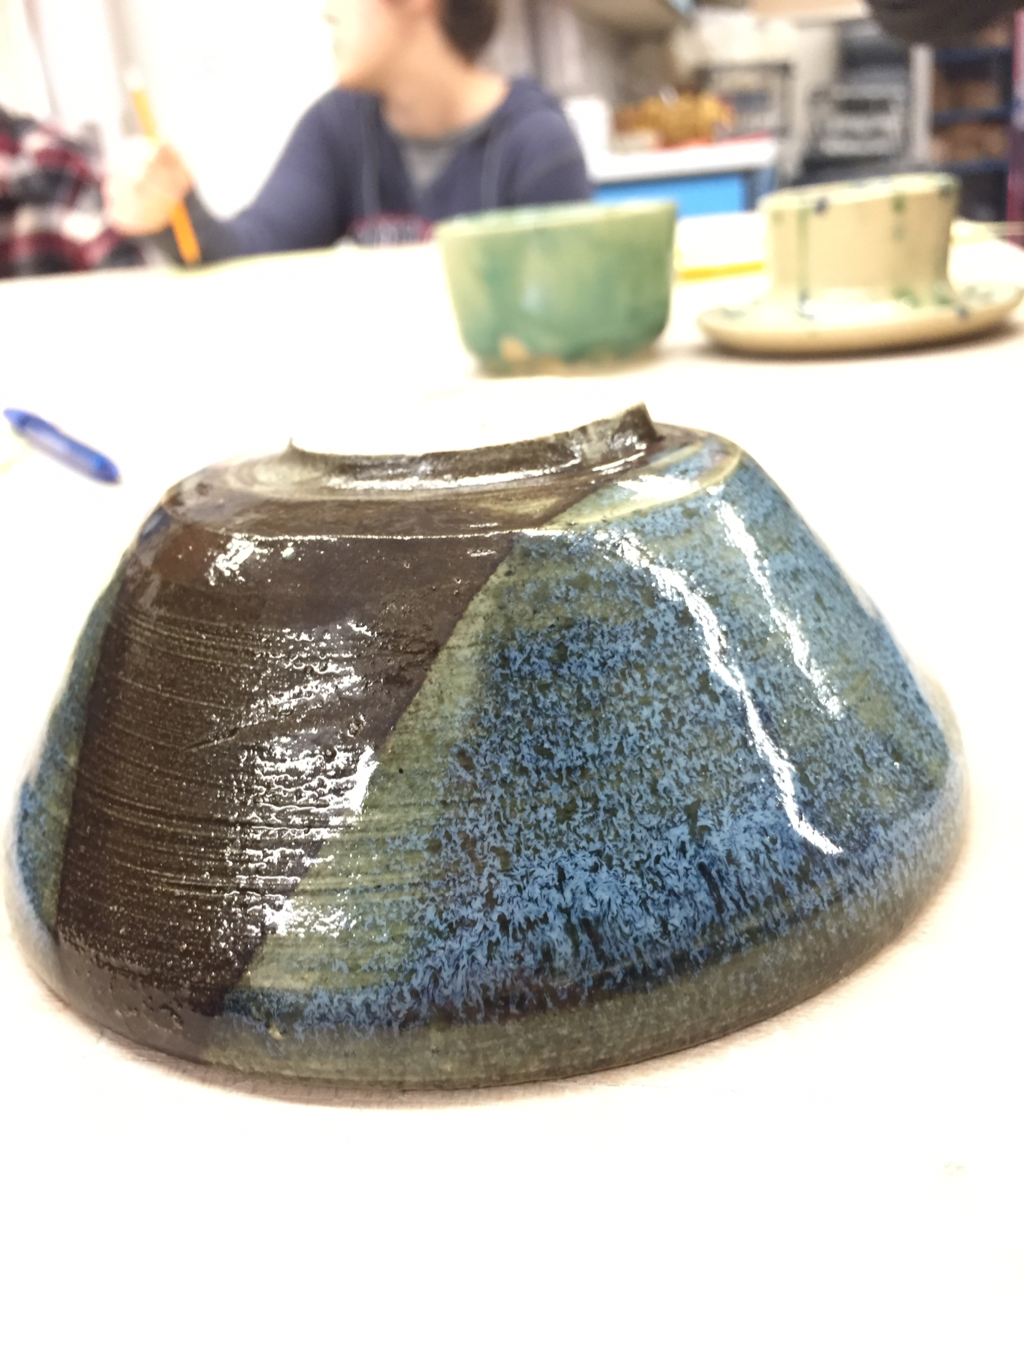
   My second bowl is 5 inches wide and 3 inches tall. It has a rough texture that is clearly visible to the eye. I glazed it by dunking it in black then dipping each side into white glaze to get the blue effect. That was also a new skill I learned in the glaze room and for future projects. Texture is shown on my project and you can clearly see and feel it. But the bowl shows movement and how the eye is attracted to the light blue that is made from combing the black and white glazes. This is one of my favorite bowls just because of its entertaining glaze and its sandy, or grainy texture.
0 Comments
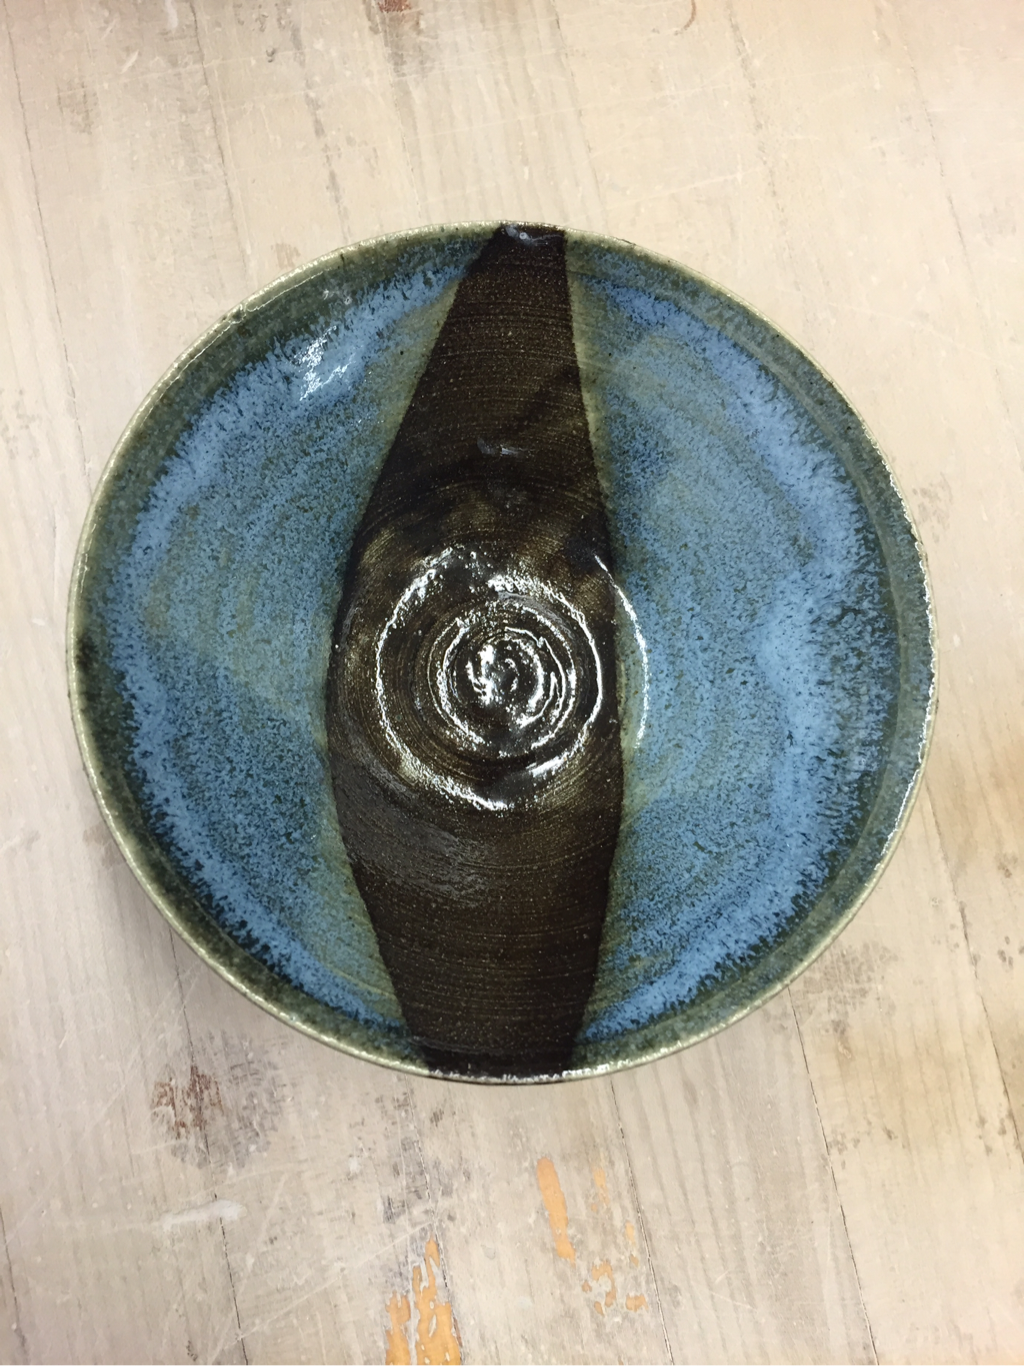
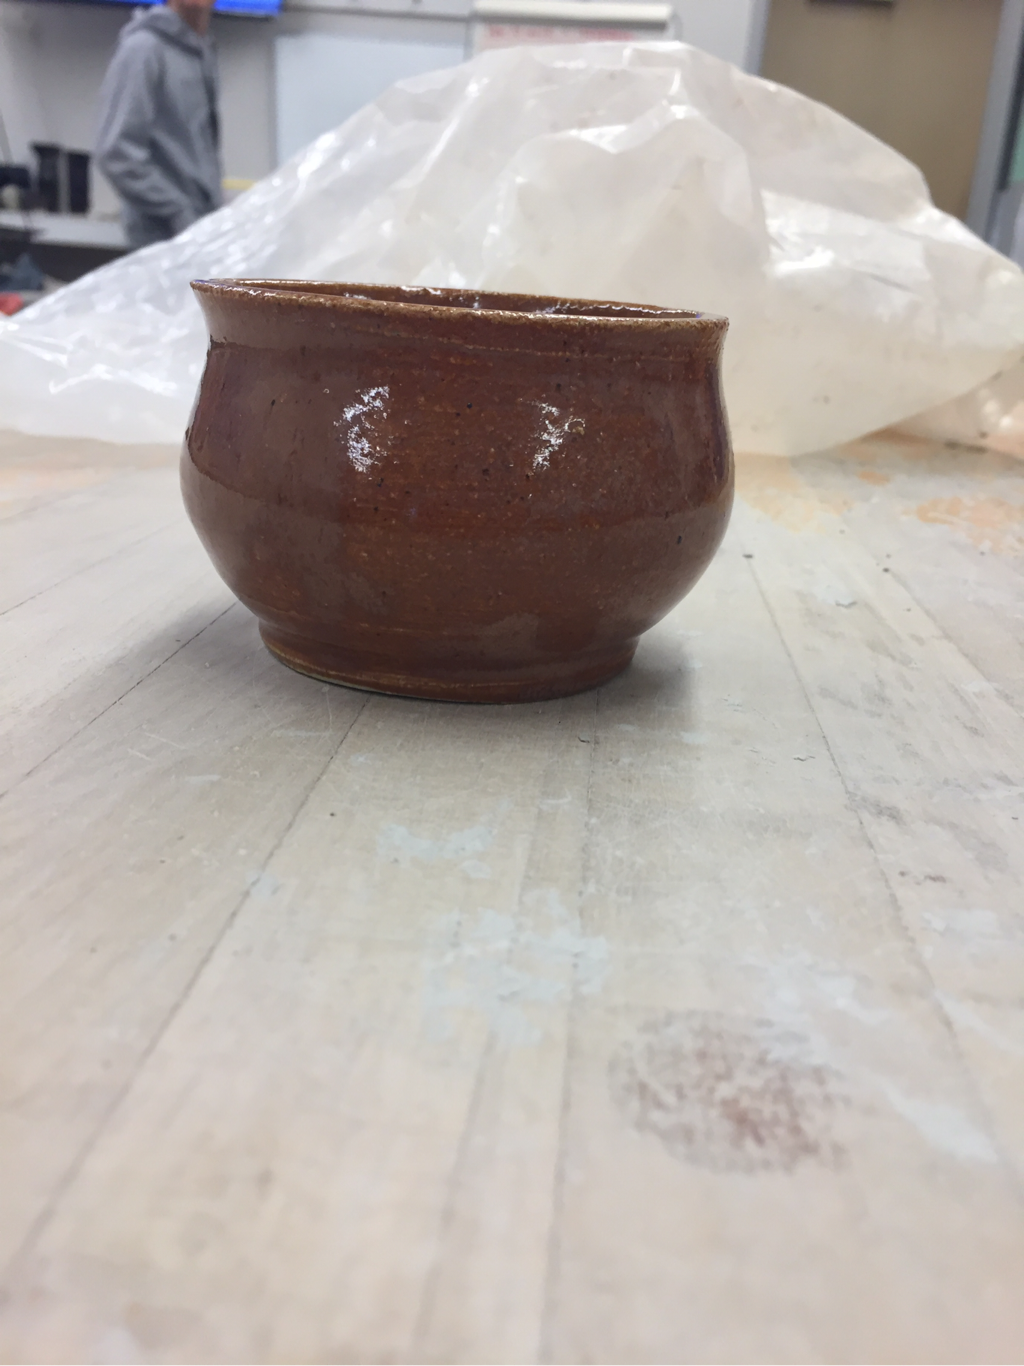
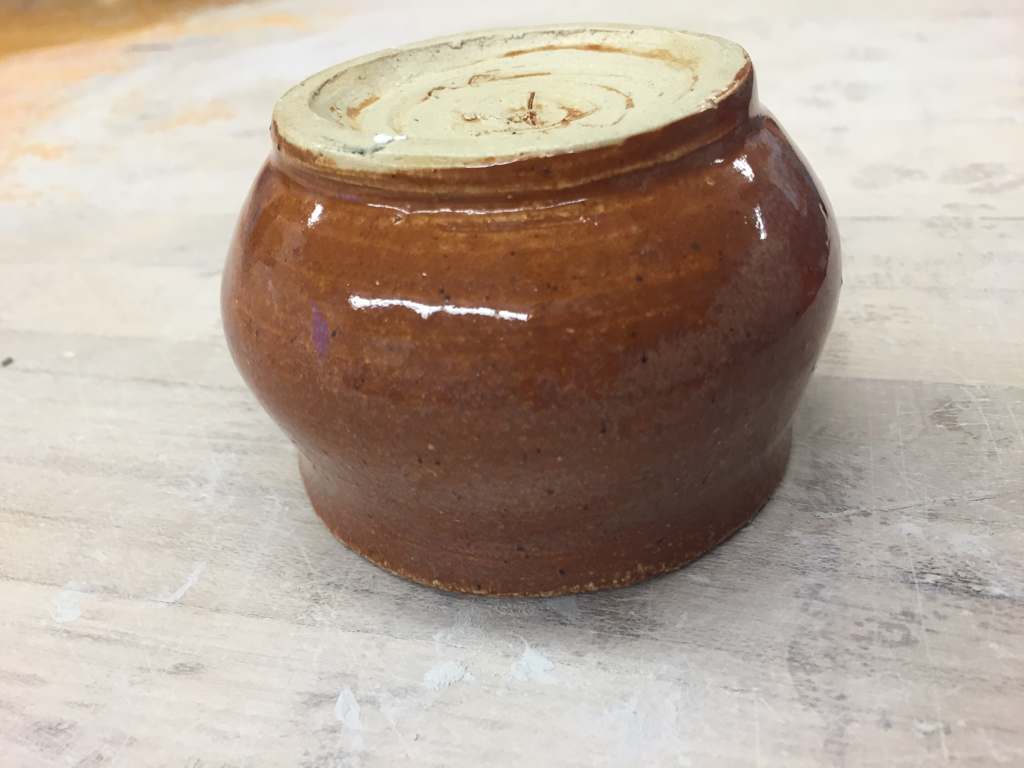
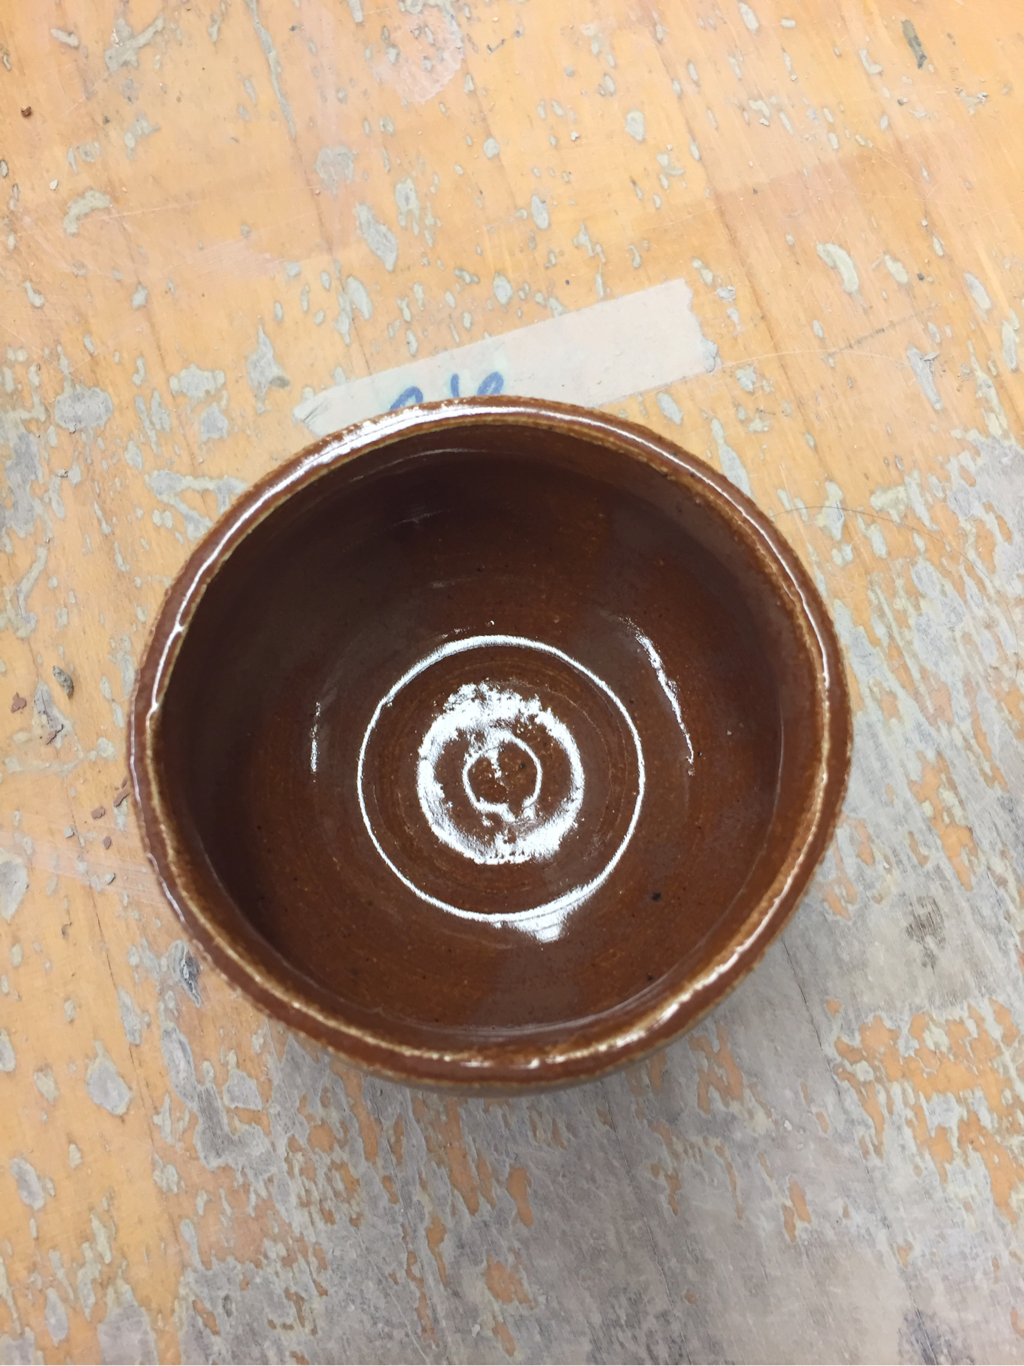
  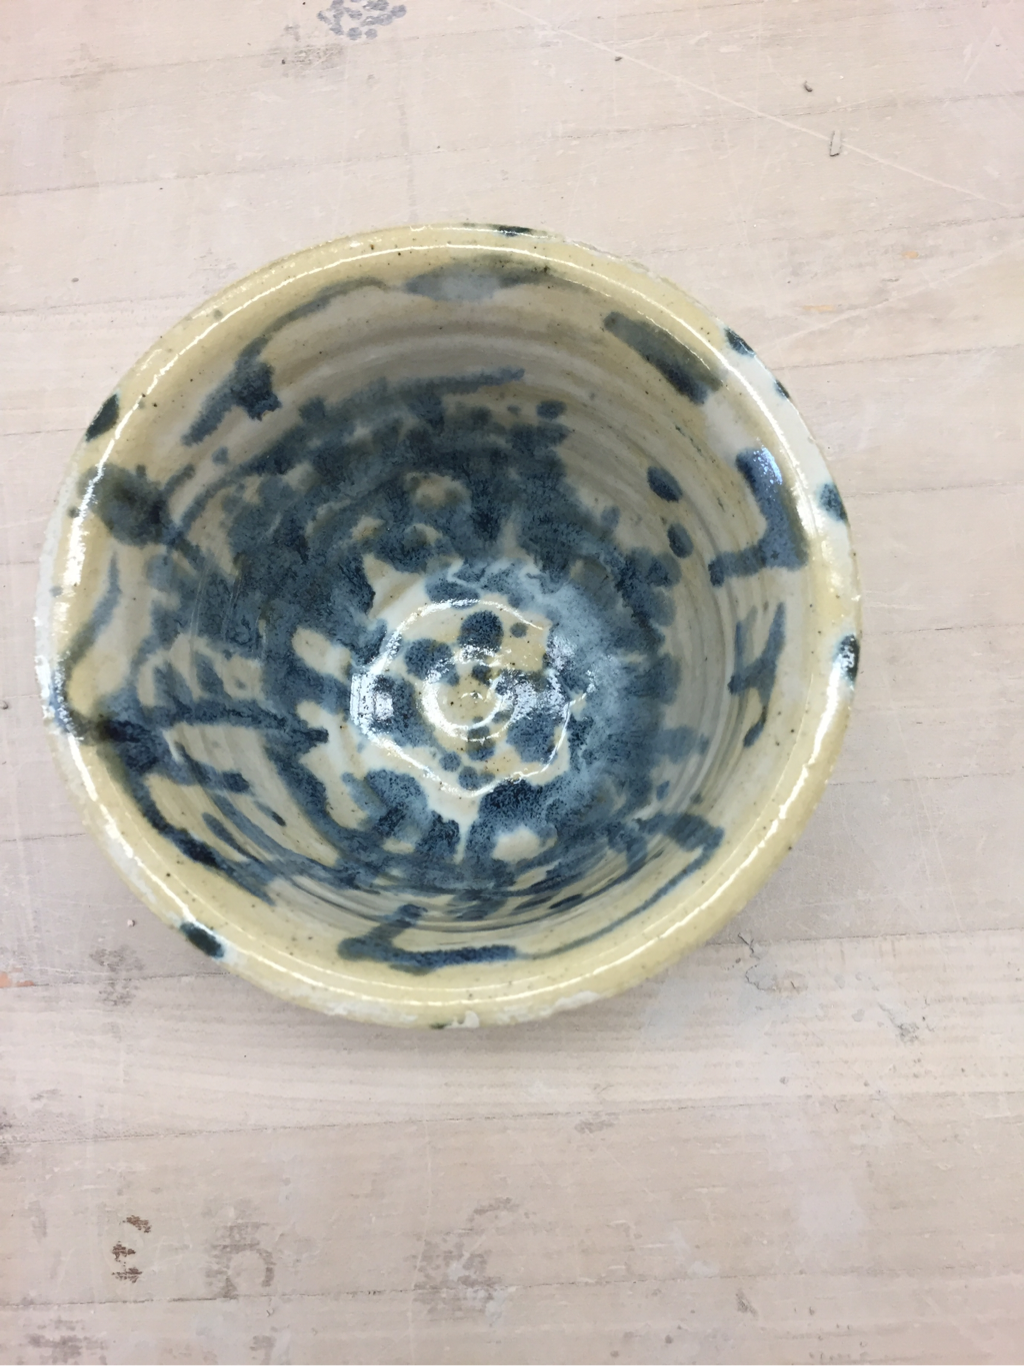 I just finished my third bowl which stands 5 inches tall and 5 inches wide. The inside of the bowl is very smooth while the outside can rough in some areas. I glazed it by spewing dark green on the outside and Sydney blue on the inside then covering it with clear glaze. While making this bowl I figured out how to pull up the wall even higher than I normally do then making the lip go outwards to make it look a little more professional. This projects color shows the lines on the inside of the bowl and gives them a ripple looking effect. The emphasis of this project is its colors and glazes just being everywhere and not just all over as a solid. This is my favorite bowl I've made because I believe it looks the most professional and I could really use this one around my home.
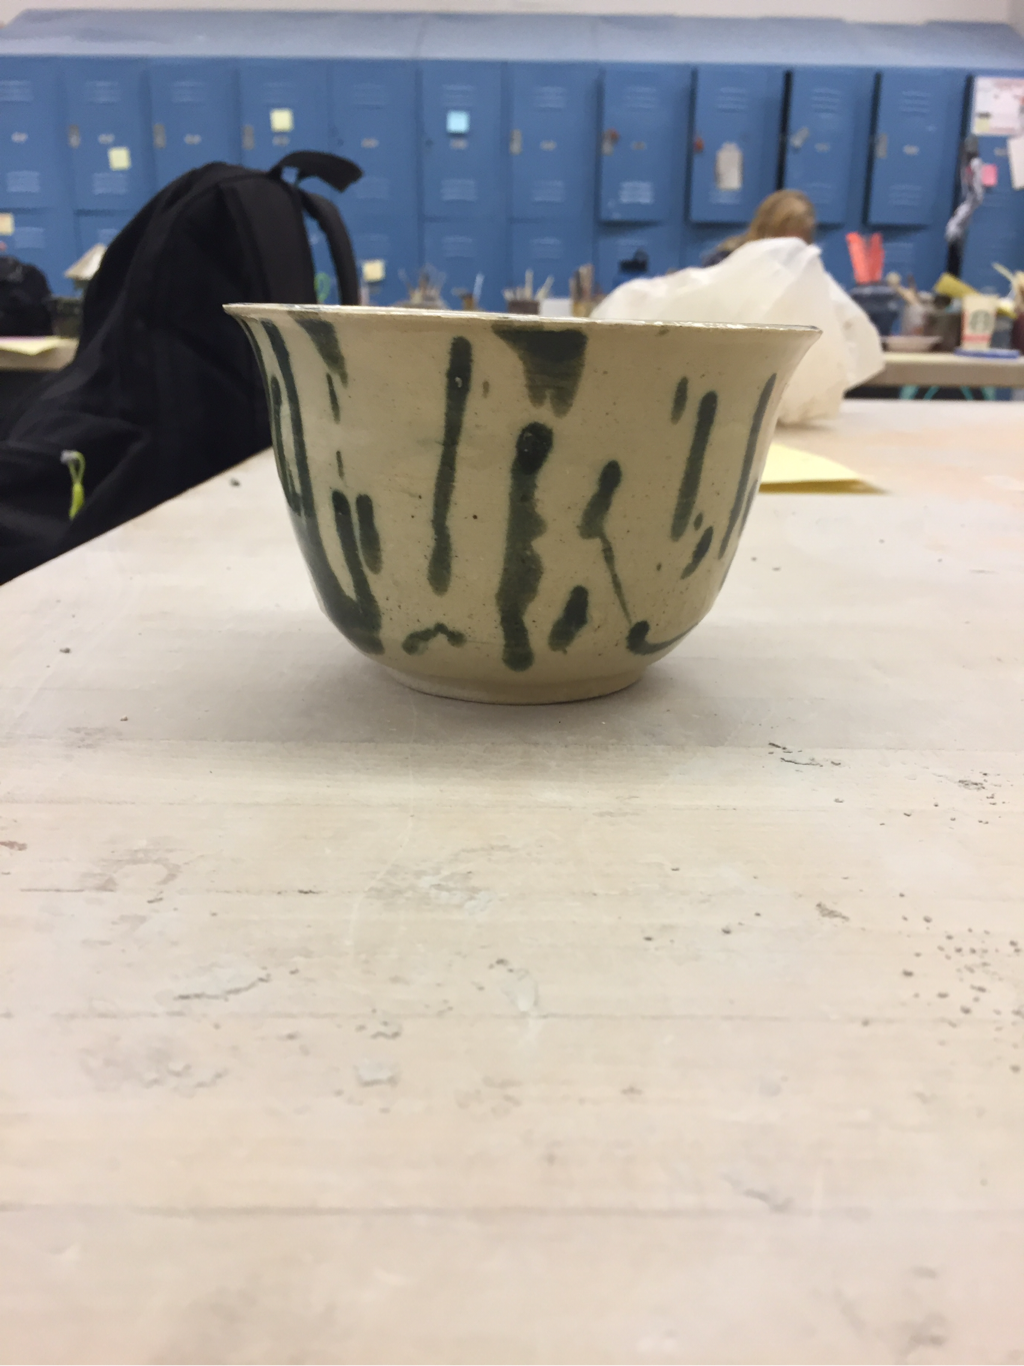
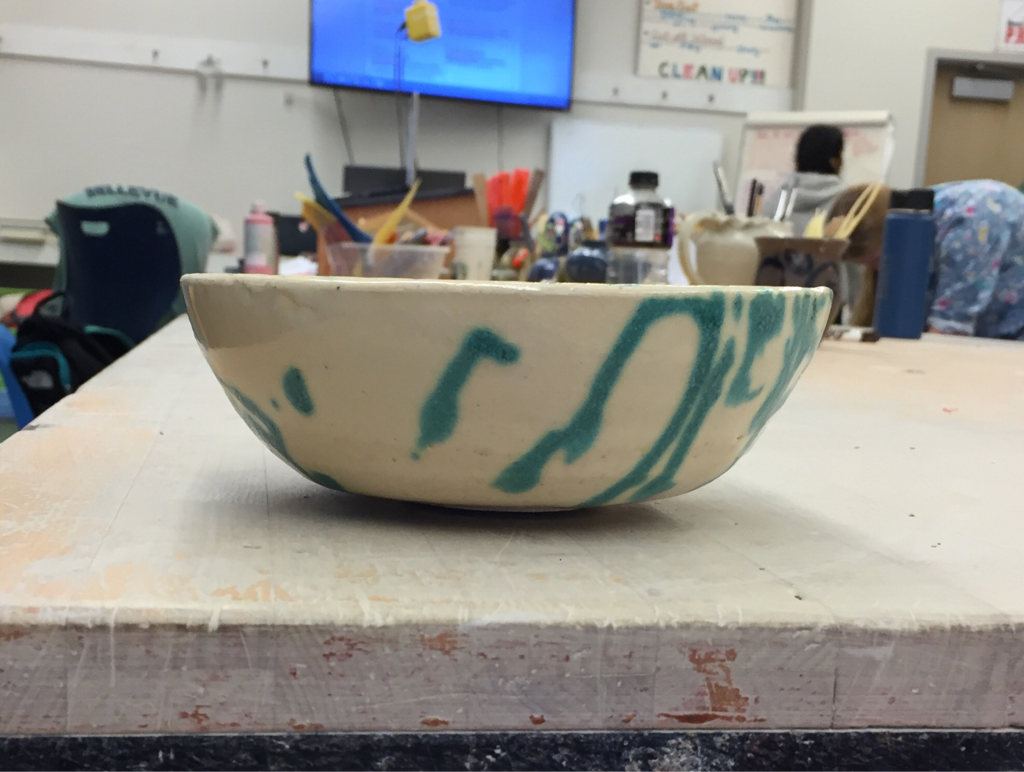 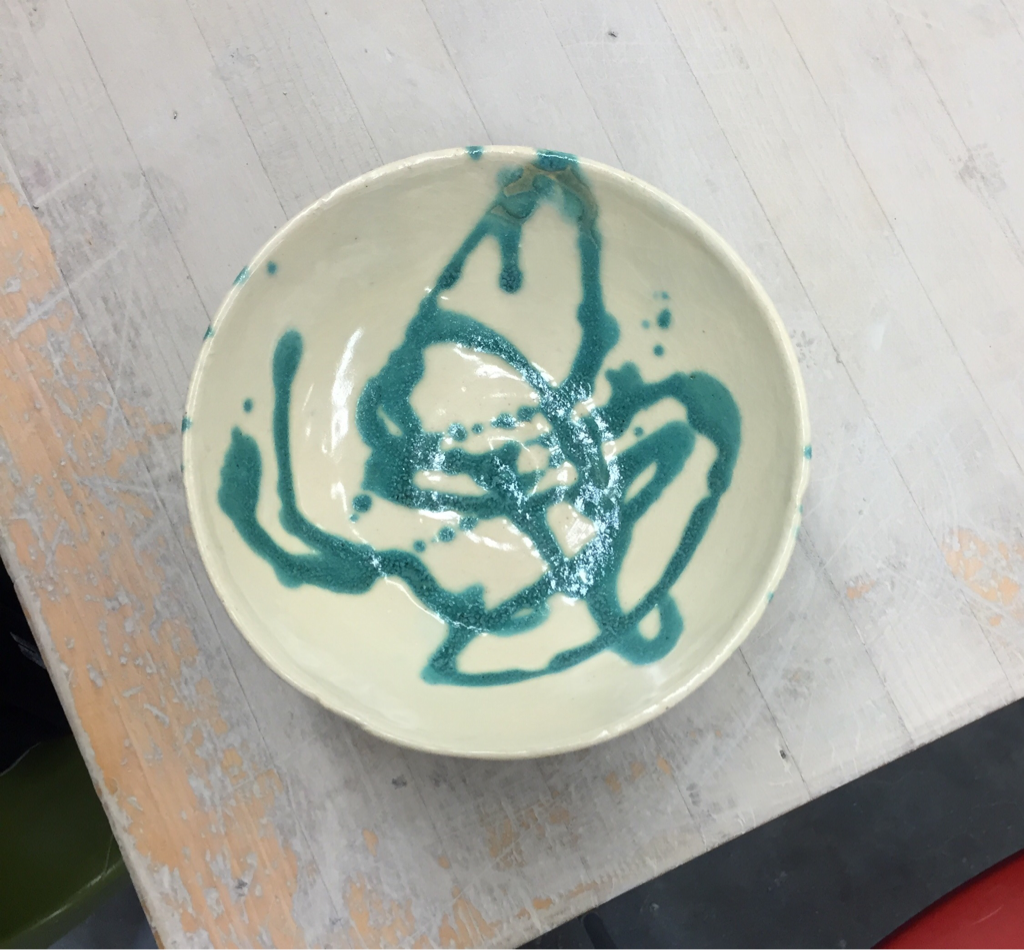 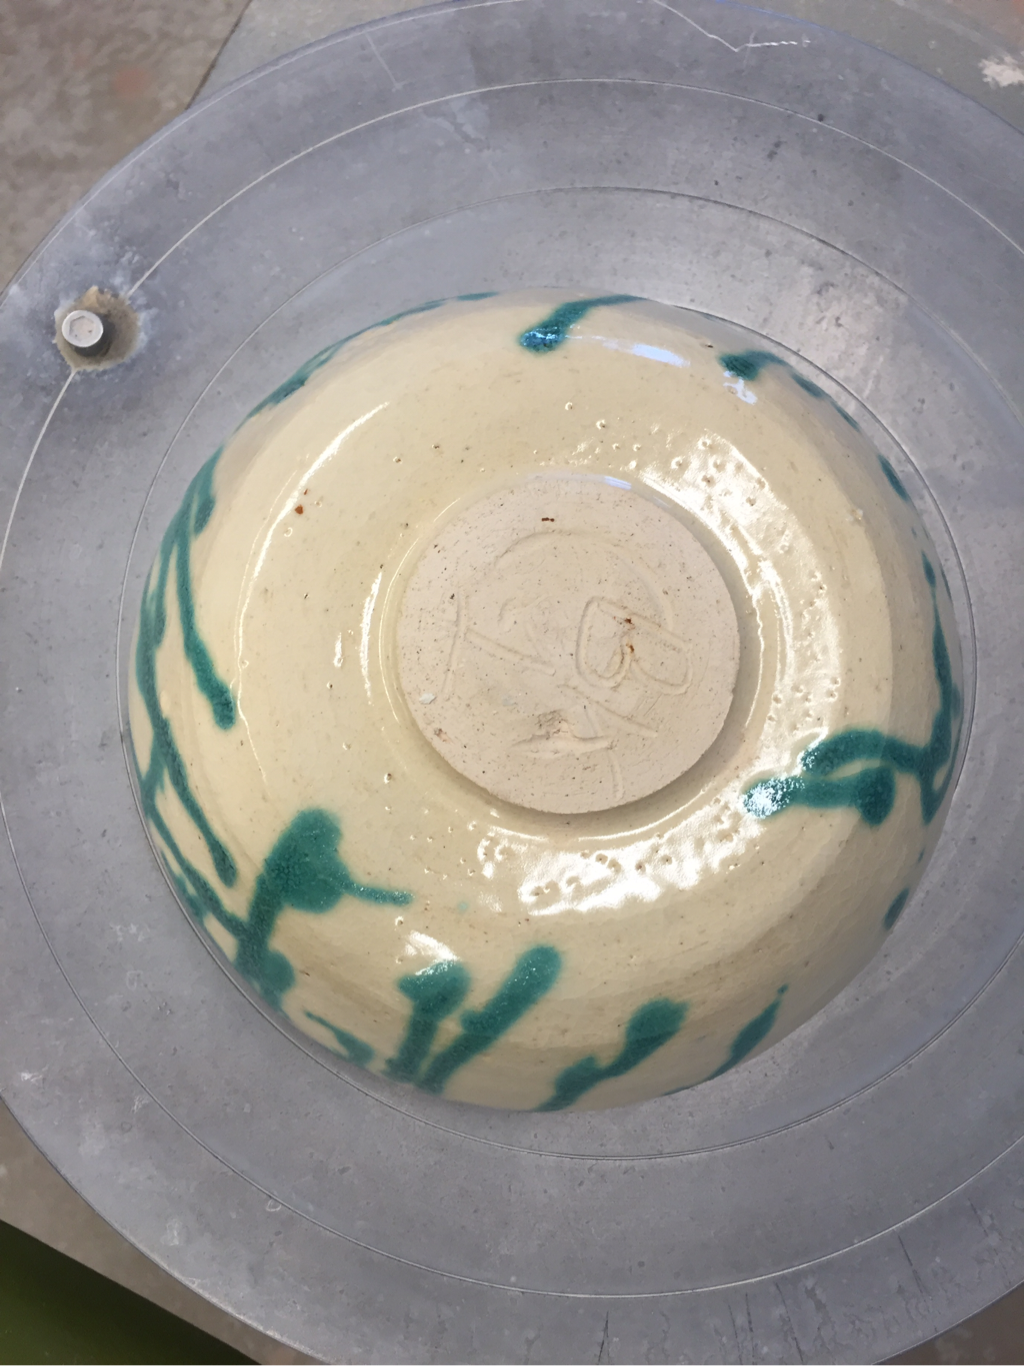 My first bowl is 6 inches wide and 3 inches tall and is very smooth. I used green glaze and painted random lines all of the bowl then glazed over it with clear glaze. A new skill I learned was being able to pull a wall and have it be the same thickness all the way around. The bowl shows value from its clay colored main part to its green lines all over it. I also believe it shows unity because the green looks really good on top of the clay color. This is by far my favorite project that I've made and I plan on keeping this one for myself.
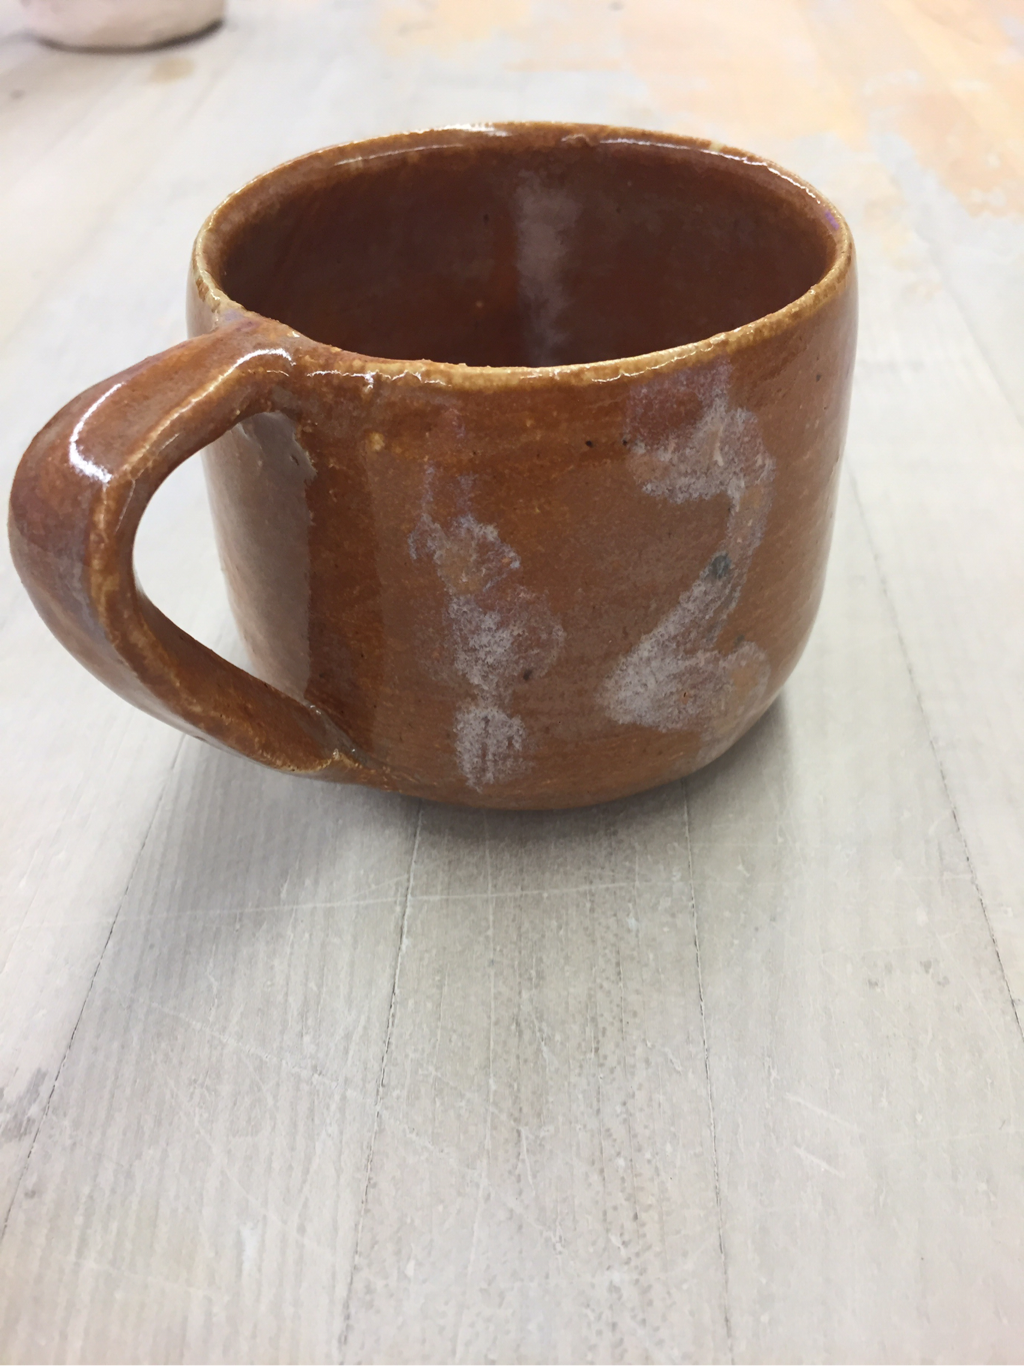  I made this little cup, which is 3 inches tall and 2 and 1/2 inches wide, on the wheel. I used the orange glaze again with little squiggly white stripes then a coat of clear glaze on the top. I'm actually not a fan of the way it turned out so I may glaze it again. I learned how to make and attach a handle to my cup while making this and without that skill I wouldn't be able to make this happen. The cup and handle create space in between two different parts of my project which then leads to proportion and how I created the right sized handle for my little cup. I think of this as a soup cup and I would actually like to try and eat out of it.
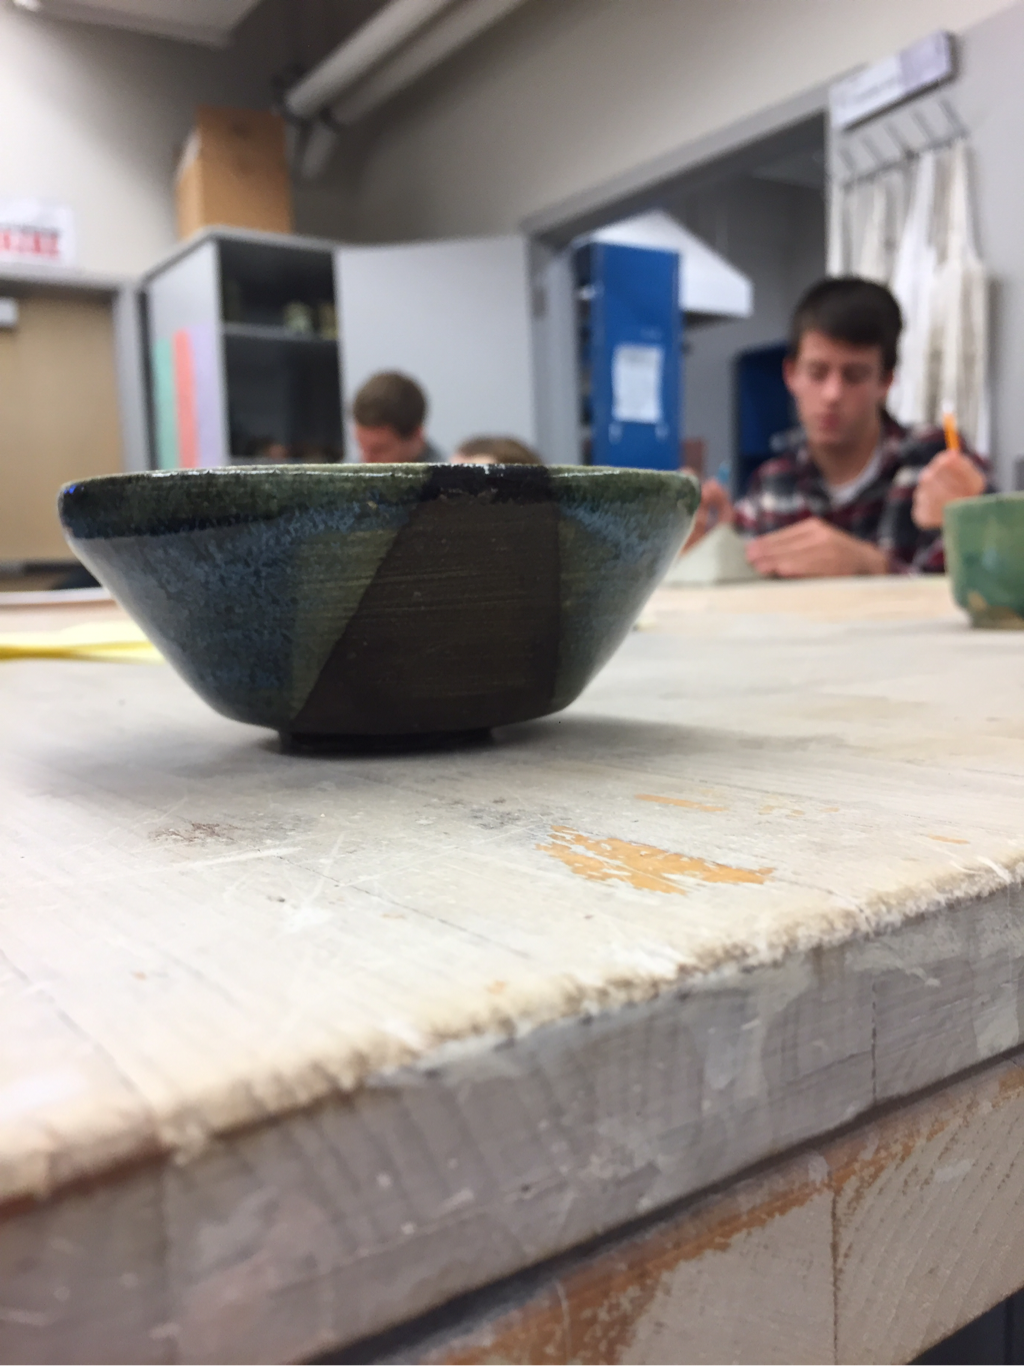
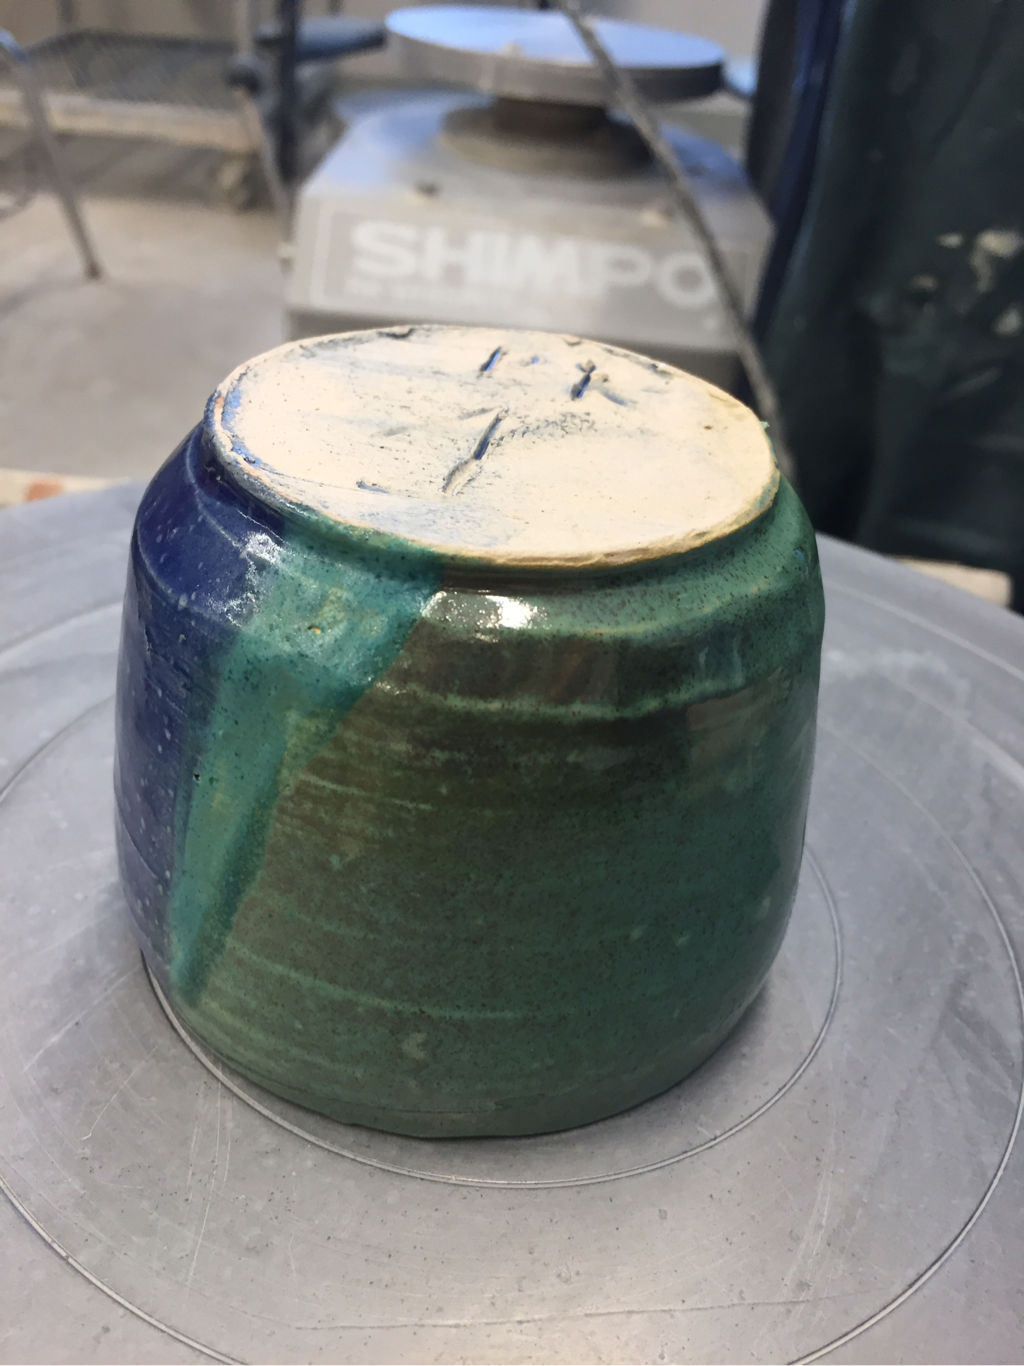 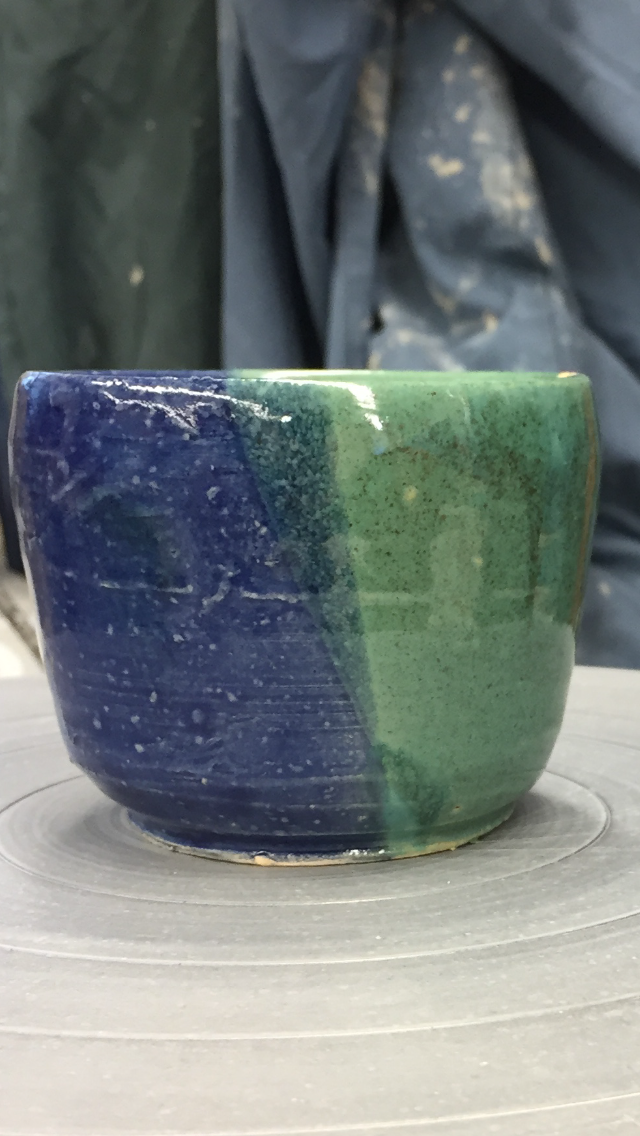 This is my second wheel project that is just a plain old cylinder that is 3 inches tall and 3 inches wide. It is green and blue glazed mixed and each color cuts the cylinder in half. Where the glaze is thick it is very smooth but the glazed burned off in some spots which can make it kind of rough. I didn't learn any new skills I just practiced old ones to try and master them while I created this piece. The two different colors gives it value because of the light green and darker blue. Plus, because of my color choice it also shows unity between the colors that go together well. When I think of this project it just reminds me of the things I need to work on and practice such as footing and pulling a wall higher.
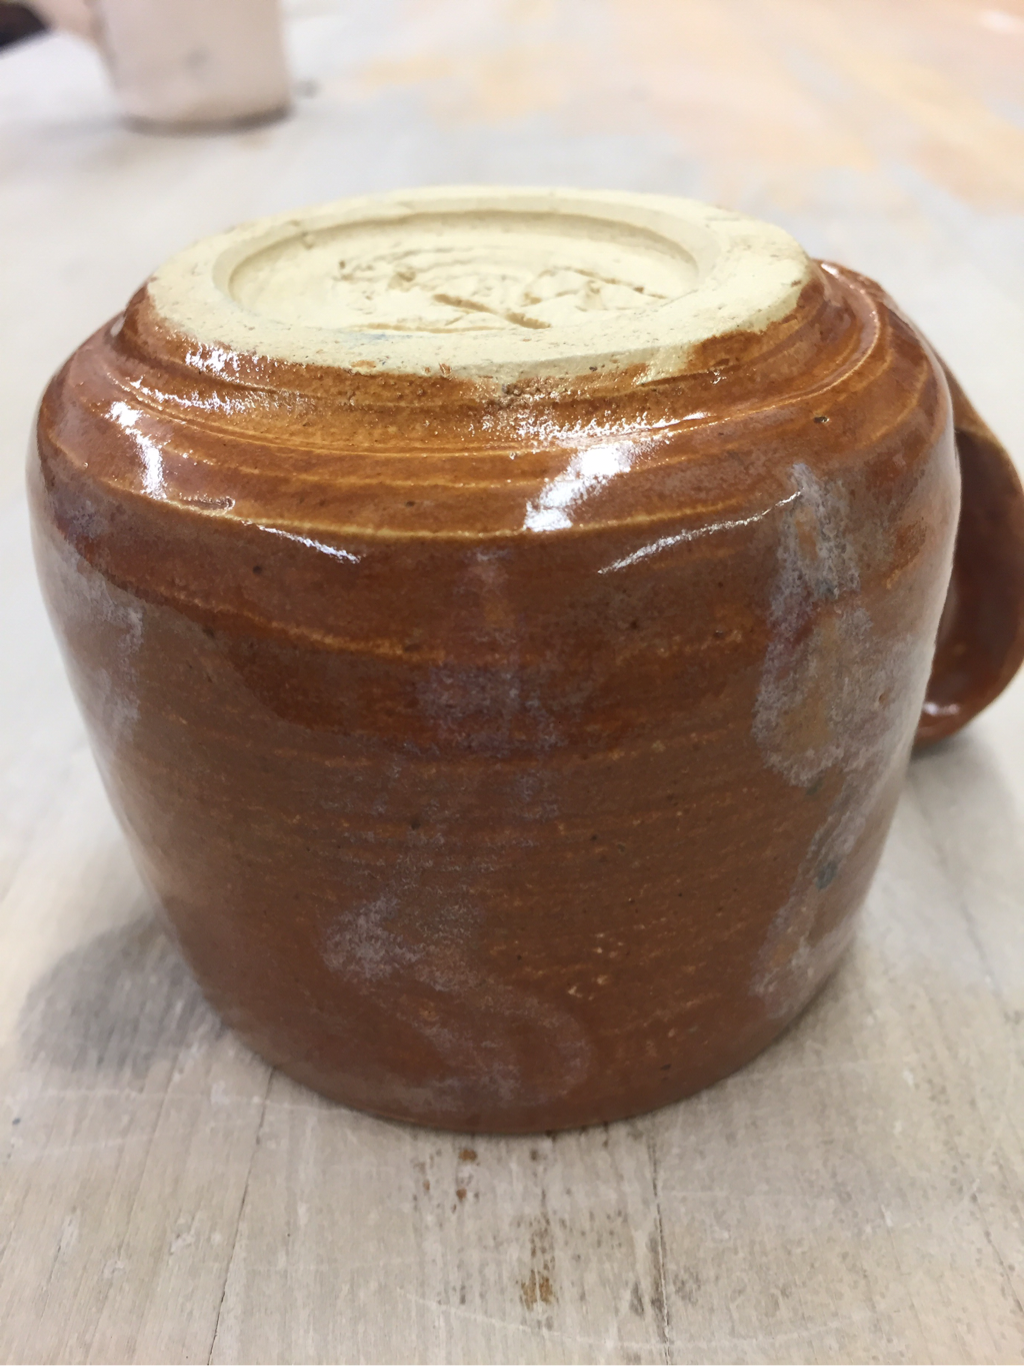
   This is my first vase of the year and it is a burnt orange color that feels rather rough and almost sandy. It is 4 inches high and 2 and 1/2 inches wide. To glaze I just dipped it in the orange glaze then wiped off the bottom meaning I didn't do anything too special for this. I learned how to use my rib tool to get the pushed out wall in the vase while making this project. There is a very sandy and rough texture on my project. Because of the rough texture my vase also shows balance because the burnt orange color goes well with its rough texture. I'm a very big fan of this project because I really like how it feels when you hold it or look at it up close.
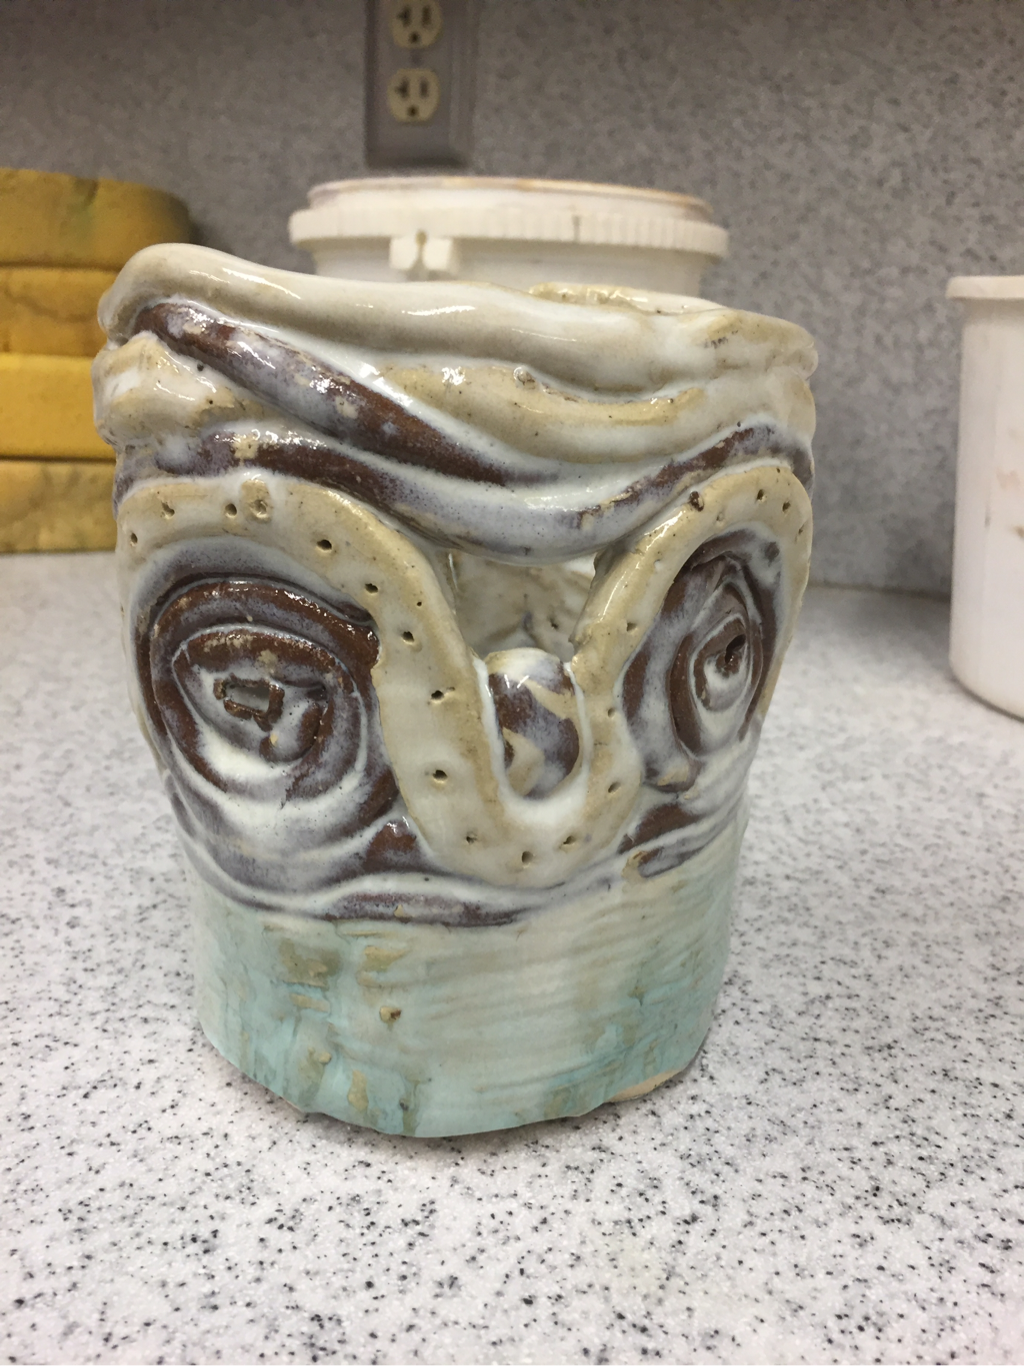 Logan Nicholson and I made this coil pot that stands 6 inches high and 5 inches wide. We made it for my grandma because she likes stuff I do and make no matter what( or she at least says she does). We started by making a pinch pot base then using our hands to roll out coils to go on top of the pinch pot. For about half of the coils we used the orange-brownish clay instead of the regular white clay. After a couple of coils we made spirals and balls for a neat change up from the regular coil. We then intertwined two coils and added them close to the top of the pot. For the glaze we put turquoise on the bottom then white and clear over that and the rest of the pot. Logan and I worked pretty hard on this and are very proud of its outcome.
My first finished wheel project is this small bowl that stands 2 inches high and is 3 inches wide. I glazed it by dipping it in Sydney blue then painting white glaze over the top. It didn't turn out to how I would have liked it too though. My footing making skills greatly improved when I made this bowl because it's very distinguishable, especially compared to my past projects. The bowl has value due to its different light and blue colors which also shows unity because they go well with each other on different parts of the bowl. I'm really fond of this bowl because I'm just very excited at how well I made the foot ring so I plan on keep my this one for a while. 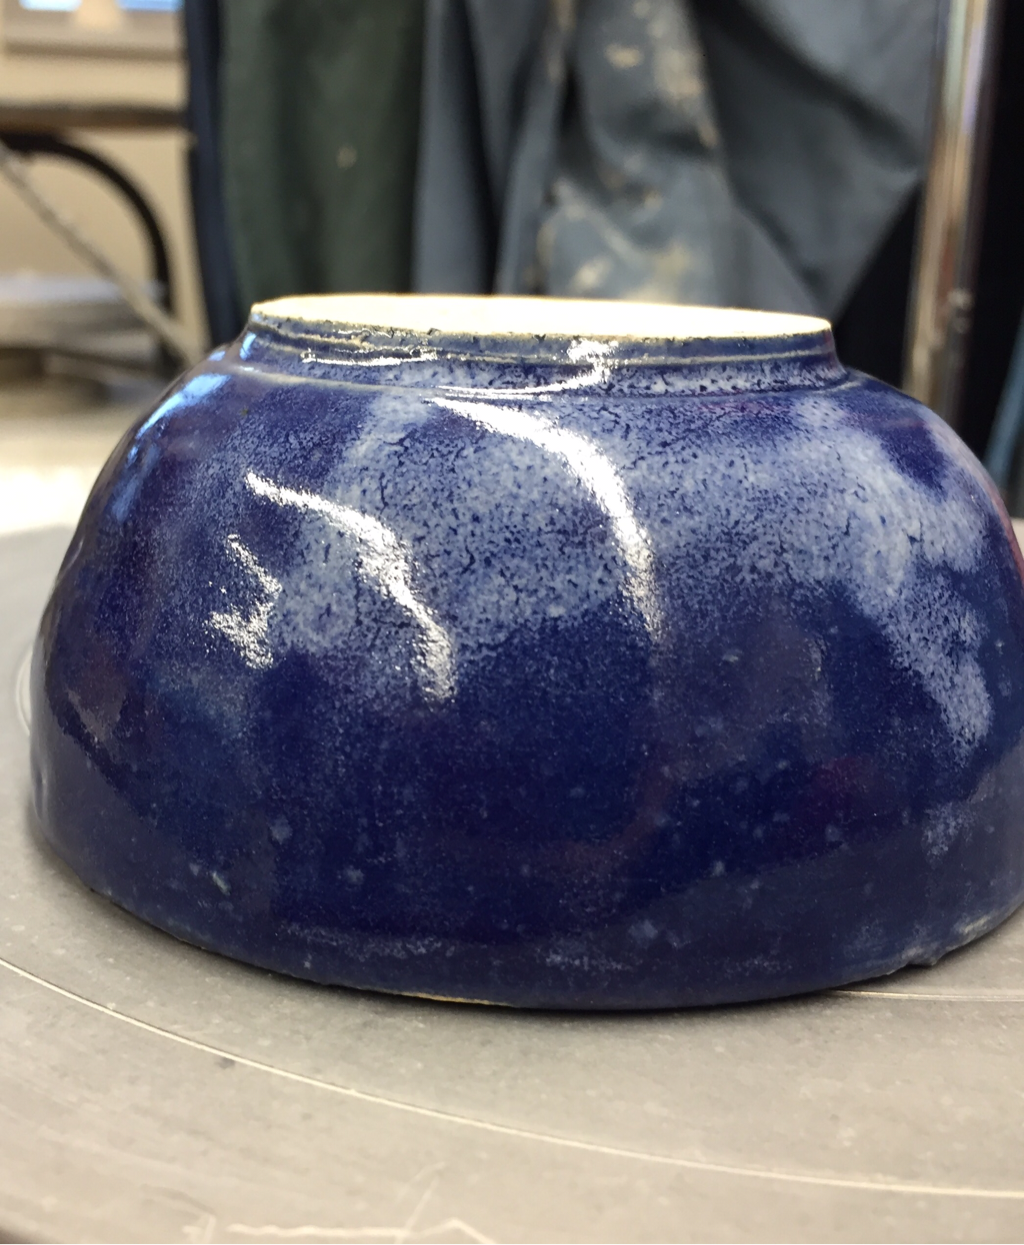 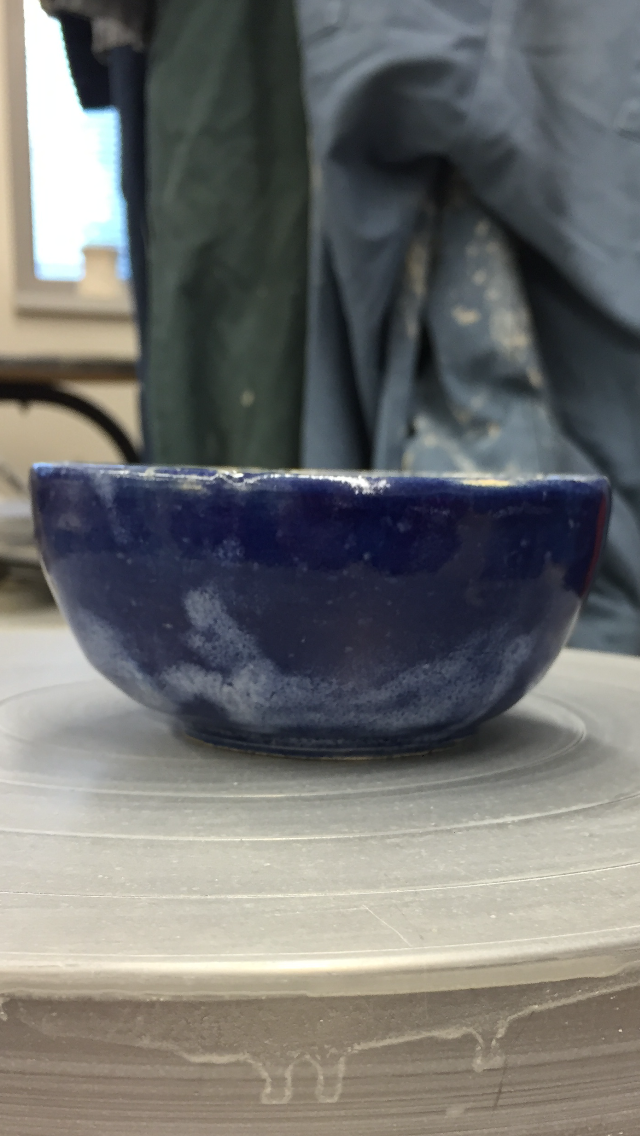 |
AuthorWrite something about yourself. No need to be fancy, just an overview. Archives
December 2016
Categories |
 RSS Feed
